How to Draw Kid Trunks Simple
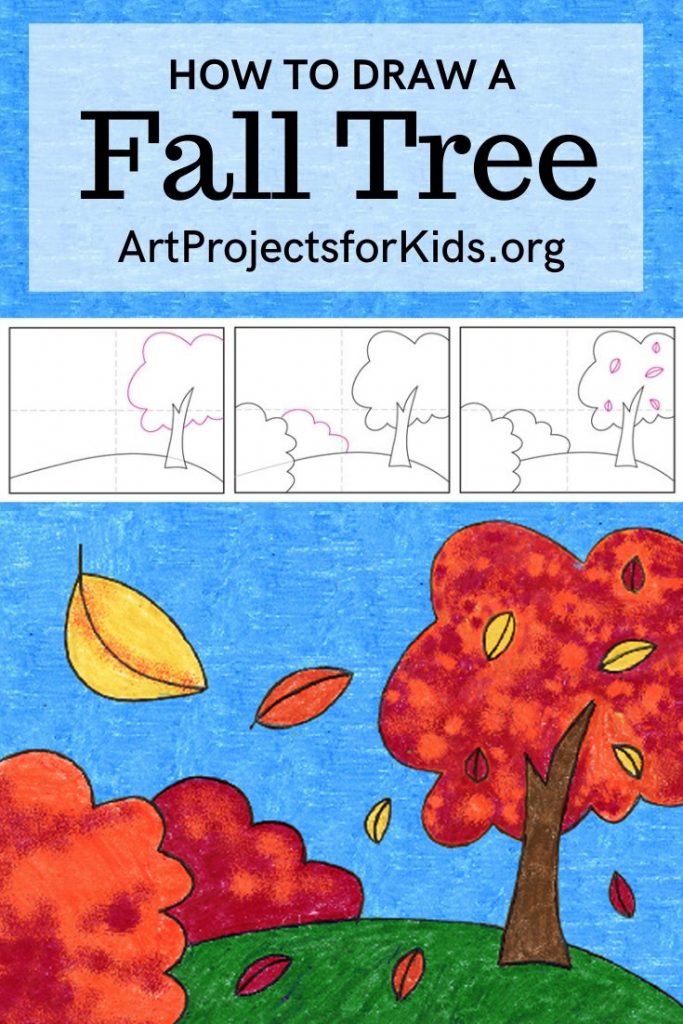
Easy How to Draw a Fall Tree Tutorial and Fall Tree Coloring Page
posted in: 19 Easy How to Draw Thanksgiving Tutorials and Thanksgiving Coloring Pages, 1st Grade, 2nd Grade, 3rd Grade, 4th Grade, 5th Grade, Crayons, Drawing, Easy How to Draw Tutorials, Fall, Holiday Drawing Ideas, Landscapes |
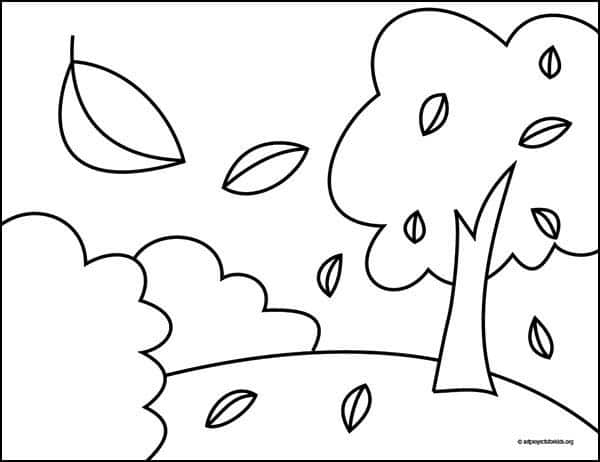
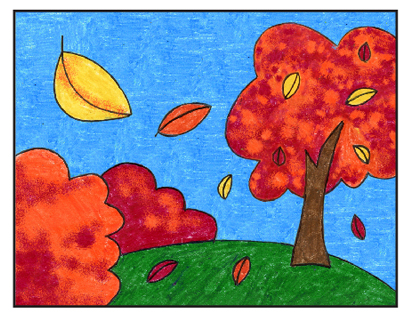
Learn how to draw a fall tree with an easy step by step tutorial. Change the size of the leaves to make some appear closer than others.
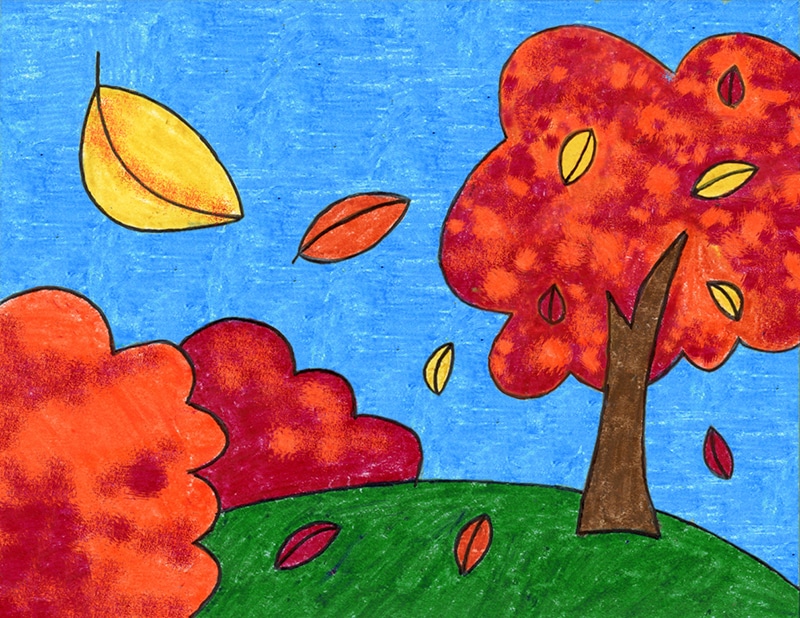
A simple rule of perspective is included in this lesson about how to draw a fall tree. The idea that the farther away objects are from you, the smaller they appear is an easy concept to for many students to understand. Finding projects that illustrate this principle is helpful for students to remember and eventually add to their art on their own.
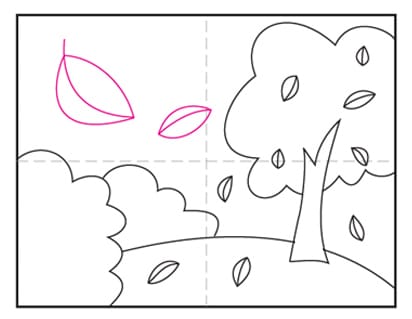
This fall tree, for instance, is set off to the side so that some colorful leaves can easily fill in the open sky. Students might tend to draw the leaves all the same size, unless you ask them to think about leaves that are blowing closer to them. Making one or two leaves that are much larger than the rest will add some instant depth to their drawing.
Just remind students that the leaves need to be all the same type, or basic shape. That's the best way for the viewer to be able to understand they are all coming from the same tree, and are not just bigger leaves.
Getting Started with Drawing Guides
The best way to get students off to a good start to any drawing lesson is to show them how to use guides as a reference point.
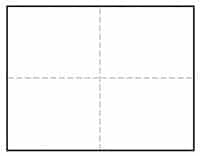
You may have noticed that all of the tutorials on this website have a dashed line running through the center of each step, both in a horizontal and vertical direction. If students make theirown centered lines on theirown paper, before drawing, they will have an easy reference to follow.
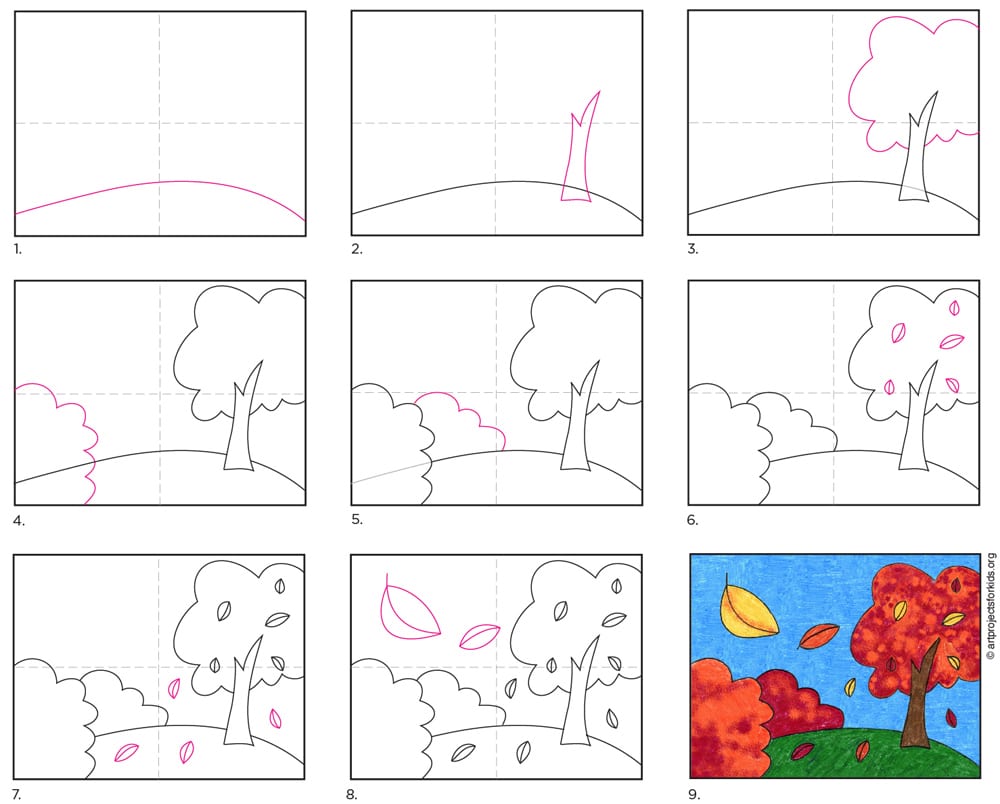
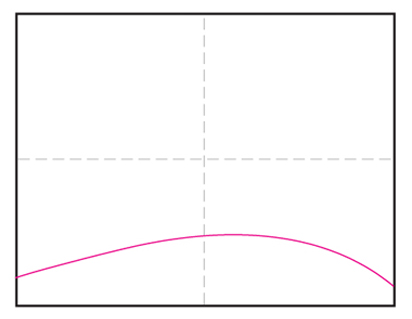
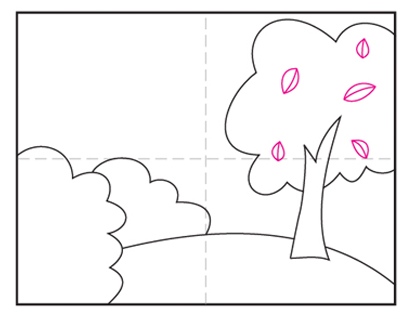
For instance, as seen in Step 1 below, the drawing starts with a hill and a large trunk shape on the right. It's important that trunk shape extends above that center horizontal line so students end up with a large tree that fills their paper.
When students get their drawing off to a good start, there's a better chance of them feeling successful by the time they are done. Drawing skills are all about getting the size and placement of lines on paper. Having some visual reference point to get started, will always help anyone learn how to be a little more accurate.
So does that mean students need to get out a ruler to draw a big fat line down the center of their paper before they start? Goodness no, please don't! That will most likely be hard to erase and distract from any finished art. No, simply fold the sheet of paper in half both ways, make a crease, and unfold. The beauty is that by the time the drawing is done and colored in, the creases will disappear.
And now, on to the Fall Tree drawing project.
See below to learn how to download this PDF Tutorial
Pin me to your Pinterest Board!
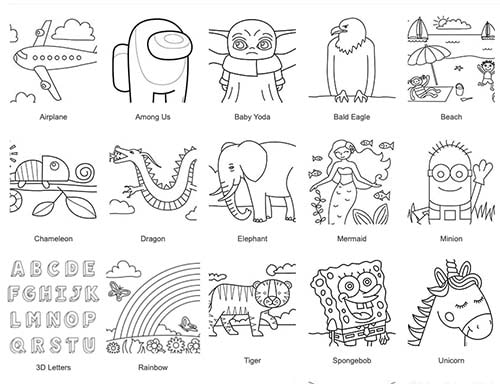
New! See my Coloring Page Gallery
Fall Tree Coloring Page
Materials for Fall Tree Drawing
- Eraser. Large ones you can hold in your hand do a much better job than just the pencil tips.

- Black Sharpie Marker. These fine point permanent marker pens make nice black outlines, have a good tip for coloring, and never bleed when they get wet. Use them with good ventilation and add extra paper underneath to protect your tables.
- Prang Crayons. These are a bit softer than other crayons so they sometimes look like oil pastels. They also have a some nice brown shades that Crayola does not have unless you buy their larger boxes.
- Crayola Crayons. The reliable brand that always works well. The 24 pack has some of my favorite golden orange and yellow colors that seem a bit richer and warmer than the ones Prang has.
Directions to Draw a Fall Tree Step by Step
Time needed:30 minutes.
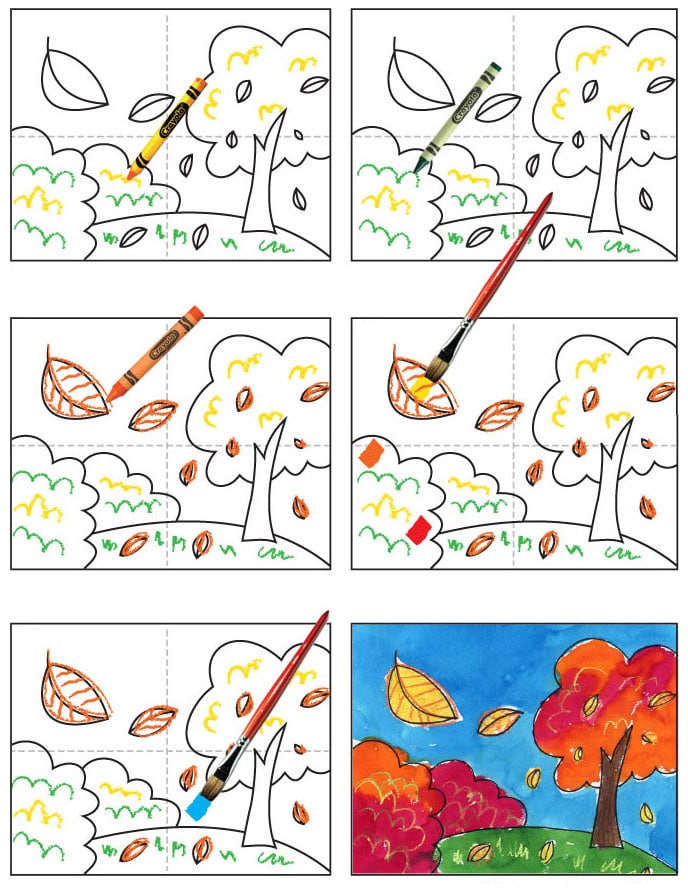
How to Draw a Fall Tree
- Draw a hill across the paper.
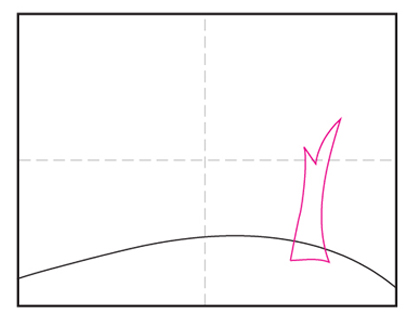
- Add a simple tree trunk on the right side.
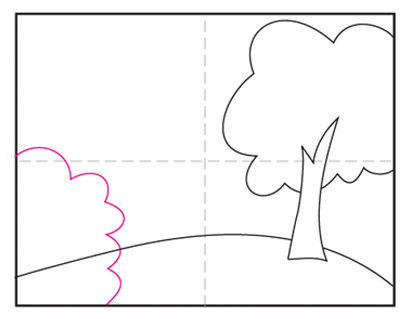
- Erase the line inside, and draw a tree shape around it.

- Draw a large bush on the left.
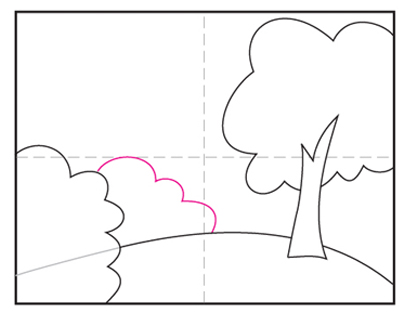
- Erase the line inside and add another bush.
- Add an assortment of leaves in the tree.
- Draw a few small leaves that are blowing away.

- Add a few more leaves that are closer and larger.
- Trace with marker and color.
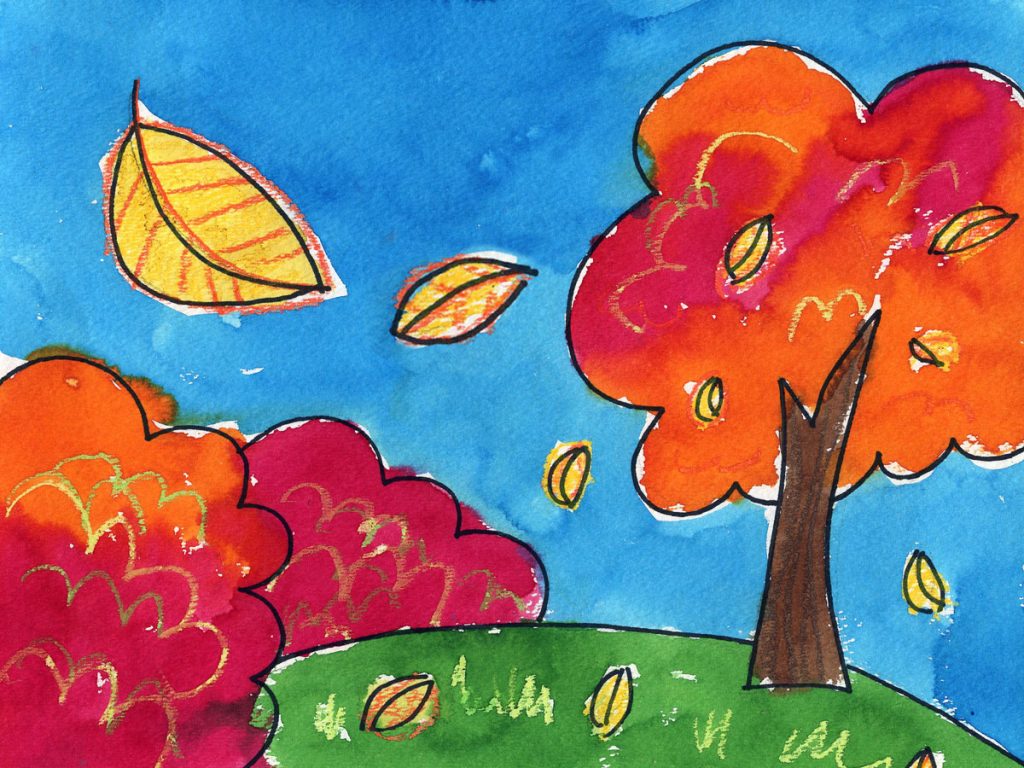
Another Option: Watercolor Resist Fall Tree Painting
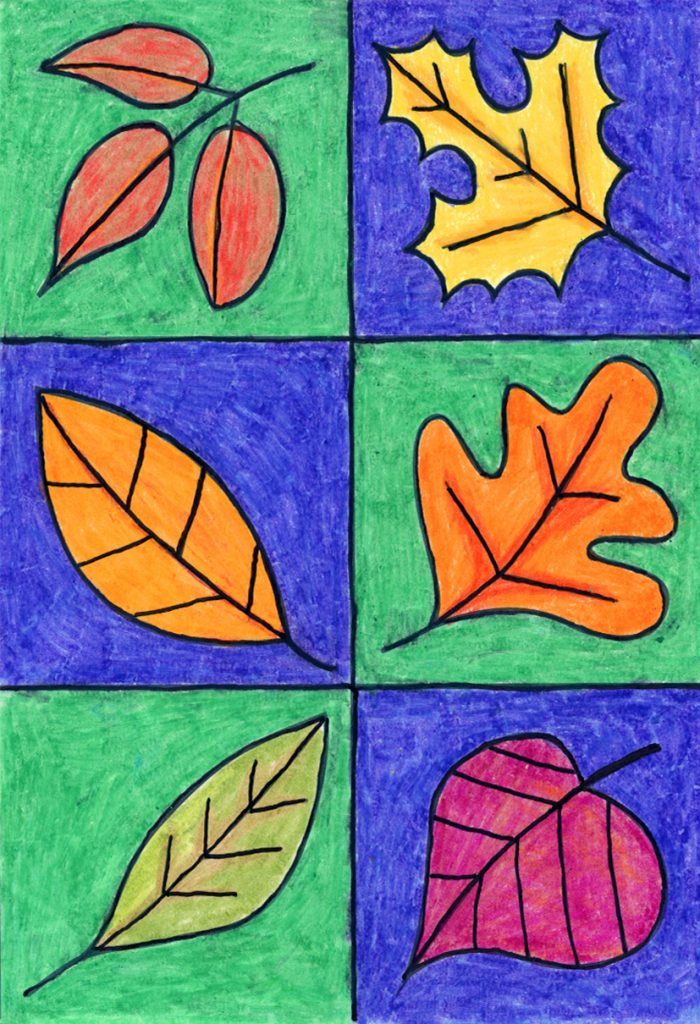
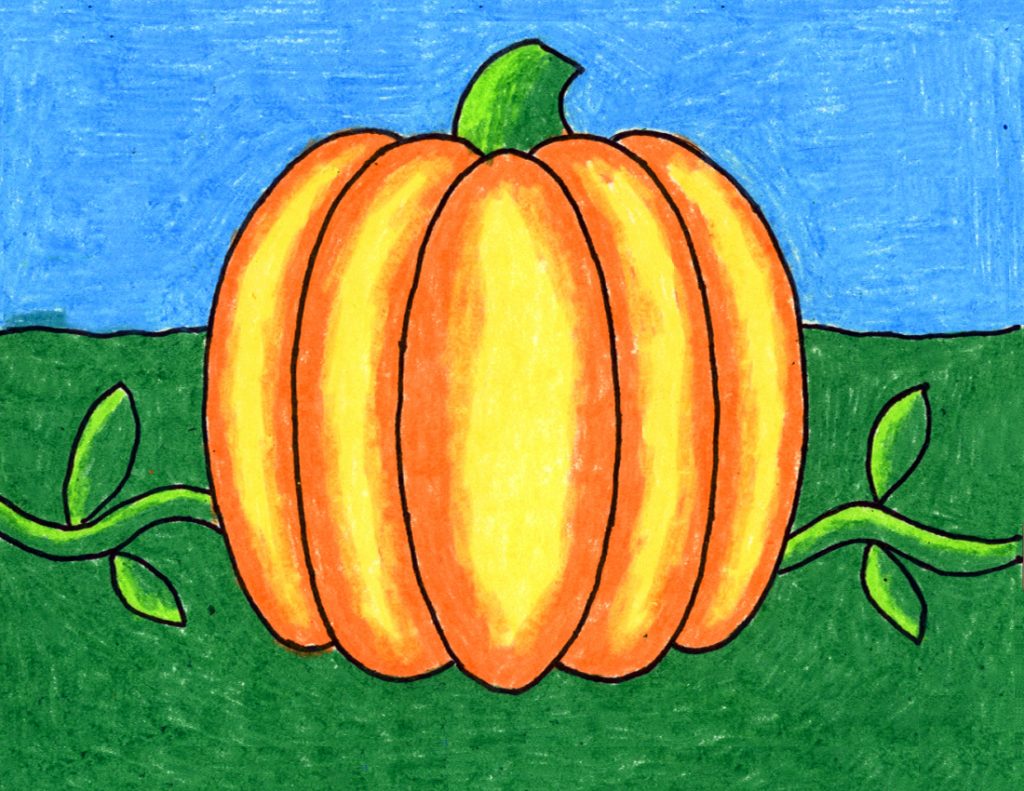
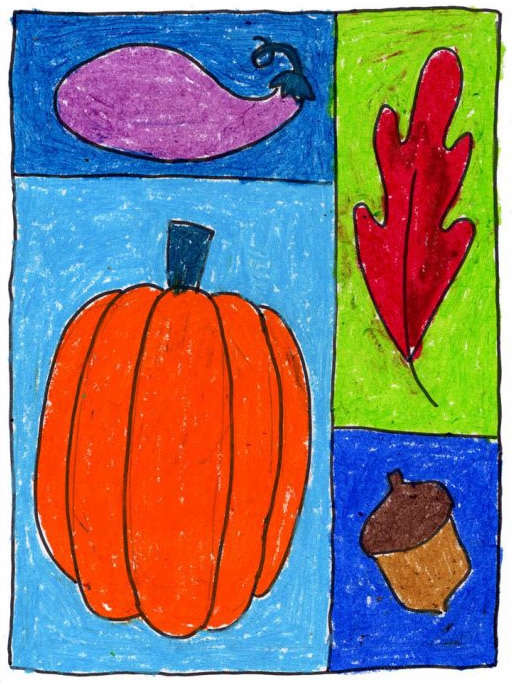
More Fall Drawing Projects


Source: https://artprojectsforkids.org/how-to-draw-a-fall-tree/
0 Response to "How to Draw Kid Trunks Simple"
Post a Comment